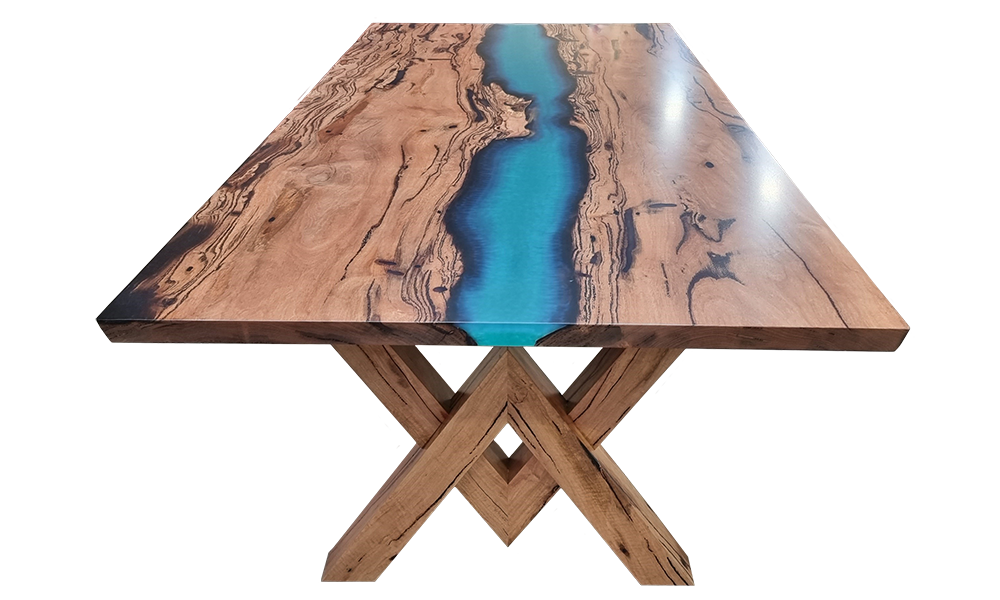
Revamp Your Dining Room by Refinishing Your Timber Table Top

Firstly, before you start to refinish your table top, it’s important that you take a moment to consider what you are working with. For instance, if your table is an ornamental, extendable timber dining table with hand-carved details, then maybe refinishing it will be too tedious for an amateur. Also, veneer is more difficult to refinish than solid wood, as it’s much thinner – so perhaps avoid this for your first refinishing project. If you notice that the grain pattern repeats across the surface of the table, then it’s probably veneer, as this is made by slicing sheets from a single log. Obviously, don’t try to refinish laminate – this is plastic.
Once you have figured out whether it’s a feasible job for you to complete, then you can start the process of cleaning and preparing the table and then refinishing it with your chosen material.
ALSO READ – Choosing The Right Marri Dining Table For Your Home
DIY Steps For Refinishing Your Table
- Prepare for the job: Firstly, you’ll need to invest in a few tools to complete the task, including: different grits of sandpaper, stain brushes, rags, tack cloths, your stain or paint of choice, and polyurethane. You can choose to rent an orbital or belt sander and a router too.
- Clean the surface: Next, you will need to thoroughly clean your table top to ensure you won’t be sanding dirt into its surface when you refinish it. Just use a damp cloth and a normal all-purpose cleaning spray to remove all the dust, oil and grease from the table top.
- Strip the surface back: The first thing to decide before stripping back the surface of your table is whether you will be able to sand it back, or whether you will need to apply a stripper. A stripper is usually only necessary when the varnish is thick and you are worried about removing too much of the wood with sanding.
- Using a stripper: Apply the stripper thickly across the surface of the table, then cover the table in plastic wrap and leave it for about 36 hours. Once the varnish has separated from the wood, use a metal putty knife to scrape the finish off. Repeat this process until the whole top coat has been removed. Then leave some paint or stain remover on the table overnight and sand the surface down afterwards.
- Using sanding: Make sure you place drop sheets on the floor, and always put on safety equipment when you are sanding. Sand down the entire table, including the legs and edges. Start with your roughest sandpaper, and sand following the grain of the table – a mechanical sander would make this job a lot easier if you have one. Use tack cloths to remove the sanding dust and then sand the surface again, but with a softer sandpaper this time to make the surface smooth.
- Apply the finish: Before applying your chosen finish to the table, wipe the table top with mineral turps to remove any fine dust. There are different application methods for each finish:
- Stain: Paint the stain along the grain of the wood, and wipe the excess off. Depending on how dark you want the stain to be at the end of the process, you can wait for longer before you remove it to ensure that the stain really sets in the wood. Repeat the process a few times, sanding in between coats to ensure that there is a smooth surface for the stain to set. Apply at least four coats of polyurethane after the final stain has dried to ensure that your dining table is sealed properly and ready for regular use.
- Varnish: Once the turps has dried, you can apply the varnish. Stir it thoroughly to get rid of lumps, and then paint on with a brush – make sure you go with the grain. Check for runs as you go, and smooth them out with the brush. Let this coat dry completely, then give it a gentle sand before applying the second coat of varnish.
- Colour/Paint: You will need to prime the wood first, then when it’s fully dry, sand down the primer coat. After this, you can paint your desired colour onto the table top, and when the paint is dry add some varnish on top to make it more water-resistant.
- Oil: Using oil is quite similar to staining the wood, the difference being that oil enhances the natural colour of the wood, whereas a stain adds a new colour. Oils sink into the wood and protect it from below the surface.
The Benefits Of A Professional Furniture Maker
If you are carrying out a DIY project, then the costs of buying materials and renting sanders can pile up and then the job can become quite expensive. It’s also normal to experience some trial and error when you are not used to working with timber, and these mistakes will make things take longer and cost you more as well. To avoid these extra costs and time consuming activities, why don’t you contact your local, expert furniture manufacturer at Jarrimber? We can discuss your project, give some tips, or come out and ensure that your table is refinished professionally ourselves. Our team will make sure that your timber table remains beautiful for years to come.
Share This